A Homeowner Checklist for Kitchens, Bathrooms & Laundry Areas
An internal strip-out is the first major step in many renovation projects. Whether you’re upgrading a kitchen, bathroom or laundry, preparing your home properly before demolition begins will reduce stress, prevent damage and keep the process running smoothly.
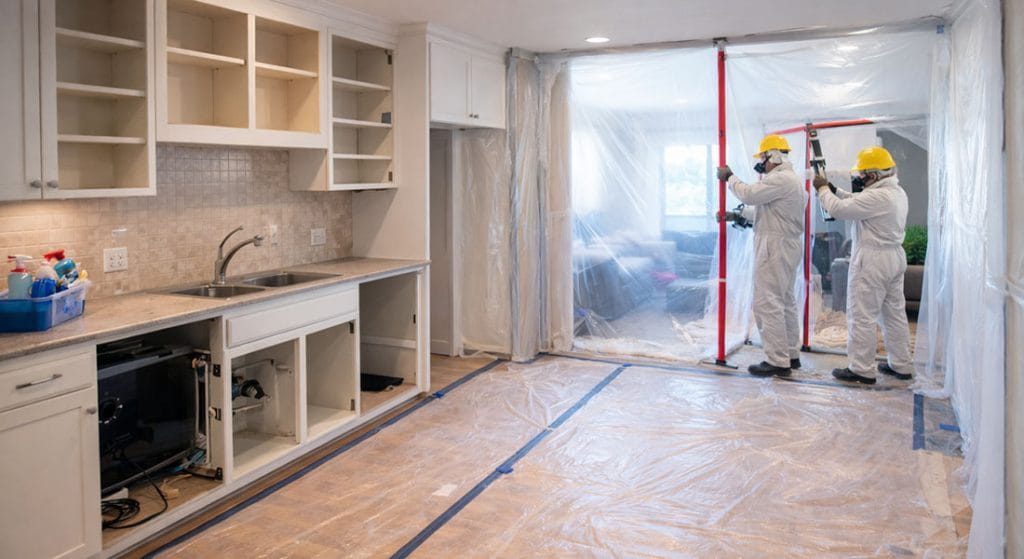
Internal demolition involves removing cabinetry, tiles, fixtures, walls and sometimes flooring. Even with professional dust management systems in place, preparation on the homeowner’s side makes a significant difference.
This guide outlines a practical checklist to help you prepare for an internal strip-out safely and efficiently.
Why Preparation Matters
Internal demolition can involve:
- Dust and debris
- Temporary service disconnections
- Noise and vibration
- Restricted access to parts of your home
Taking the right steps beforehand helps:
- Protect personal belongings
- Reduce cleaning time
- Prevent accidental damage
- Improve safety
- Avoid delays
If you’re working with an experienced contractor like Spotless Demolition, structured strip-out methods and dust control systems will already be part of the process — but homeowner preparation is still essential.
General Pre-Demolition Checklist
Before focusing on specific rooms, complete these general steps:
✔ Remove Personal Items
Clear out:
- Decorative items
- Appliances
- Cleaning products
- Towels and linens
- Small furniture
Anything left behind may be damaged or covered in dust.
✔ Empty All Cabinets & Drawers
This applies to kitchens, bathrooms and laundries. Even sealed cabinets can allow dust entry.
✔ Disconnect & Remove Appliances
Arrange for disconnection of:
- Ovens
- Cooktops
- Dishwashers
- Washing machines
- Dryers
Gas and electrical disconnections must be completed by licensed professionals.
✔ Protect Adjacent Areas
Even with containment barriers installed, you should:
- Remove rugs near work zones
- Relocate nearby furniture
- Cover items in adjacent rooms
- Secure fragile wall art
For more information on safety considerations during demolition, see our guide on Health & Safety in Residential Demolition.
Kitchen Strip-Out Preparation Checklist
Kitchens are one of the most complex areas to prepare due to plumbing, gas and electrical services.
✔ Clear Pantry & Cupboards
Remove all food items and dispose of expired goods.
✔ Empty & Defrost Refrigerator
If the fridge is being removed:
- Empty contents
- Defrost freezer
- Disconnect power
✔ Turn Off Utilities (If Required)
Your demolition contractor may advise temporary shut-offs for:
- Gas
- Water
- Electricity
✔ Remove Valuables
This includes:
- Small appliances
- Coffee machines
- Artwork
- Personal items stored above cabinetry
✔ Plan Temporary Cooking Arrangements
Consider setting up:
- A microwave station
- Kettle and toaster area
- Outdoor BBQ option
Renovations can take weeks — planning ahead avoids inconvenience.
Bathroom Strip-Out Preparation Checklist
Bathrooms often involve tile removal, vanity removal and plumbing disconnection.
✔ Remove Toiletries & Medications
Clear:
- Shower shelves
- Vanity cabinets
- Medicine cupboards
✔ Remove Mirrors & Personal Fixtures
If not being replaced, remove safely before demolition begins.
✔ Disconnect Water (As Advised)
Your contractor will guide you on when water supply must be turned off.
✔ Protect Nearby Flooring
Demolition vibration can affect surrounding areas — clear hallways and access paths.
Laundry Strip-Out Preparation Checklist
Laundries contain both plumbing and electrical services.
✔ Disconnect Washing Machine & Dryer
Ensure hoses are drained properly before removal.
✔ Remove Cleaning Chemicals
Store safely away from demolition zones.
✔ Empty Cabinets & Storage Areas
Dust can enter small gaps — full removal is recommended.
✔ Plan Alternative Laundry Options
You may need:
- Access to another bathroom
- Laundromat arrangements
- Temporary external washing solution
What Not to Do Before Demolition
Avoid:
- Attempting DIY disconnections
- Removing structural elements
- Cutting into walls
- Ignoring asbestos concerns
- Leaving valuables nearby
Professional demolition contractors assess structural integrity and hazard risks before work begins.
If you are unsure about the scope of your internal strip-out, review the available services under Residential Demolition Services to understand what is included.
Additional Practical Tips
Label Items You Intend to Reuse
If keeping fixtures or cabinetry, clearly label them before demolition day.
Inform Neighbours
Internal demolition can be noisy. A courtesy notice helps maintain good relationships.
Secure Pets & Children
Ensure restricted access to work areas during demolition.
Clarify Waste Removal
Confirm with your contractor how debris will be removed and disposed of.
Final Thoughts
Preparing your home properly before an internal strip-out will:
- Protect your belongings
- Reduce dust impact
- Improve safety
- Minimise delays
- Help your renovation start smoothly
A well-planned demolition sets the foundation for a successful renovation.
If you’re preparing for a kitchen, bathroom or laundry strip-out, working with an experienced demolition team ensures dust management, safety compliance and structured removal processes are handled professionally from the outset.