Flooring removal is a crucial step in any renovation or remodeling project. Whether you’re replacing old carpet, tiles, hardwood, or vinyl, knowing what to expect can help you prepare for the process and avoid unnecessary delays. Proper preparation ensures a smooth transition to the installation of your new flooring and minimizes disruptions in your home.
Understanding the flooring removal process step by step allows homeowners to make informed decisions and prevent common issues. Here’s a breakdown of what happens from start to finish.
Step 1: Initial Preparation and Assessment
Before flooring removal begins, assessing the type of flooring and the condition of the subfloor is essential. Different flooring materials—such as tiles, hardwood, carpet, or vinyl—require different removal techniques, and each can have its own challenges. The presence of adhesives, nails, or subfloor damage can also affect the process.
To prepare for flooring removal, clear the space by removing all furniture, rugs, and personal items. Securing fragile or valuable objects in adjacent rooms helps prevent damage from dust or debris. Sealing off doorways with plastic sheeting can help contain dust and reduce mess in the rest of the house.
Step 2: Removing the Existing Flooring
Carpet Removal
The process of removing carpet starts by detaching it from the tack strips along the edges of the room. Once loosened, the carpet is pulled back and rolled up for disposal. If padding is underneath, it is also removed, and any staples or adhesive left on the subfloor must be cleared.
Tile Removal
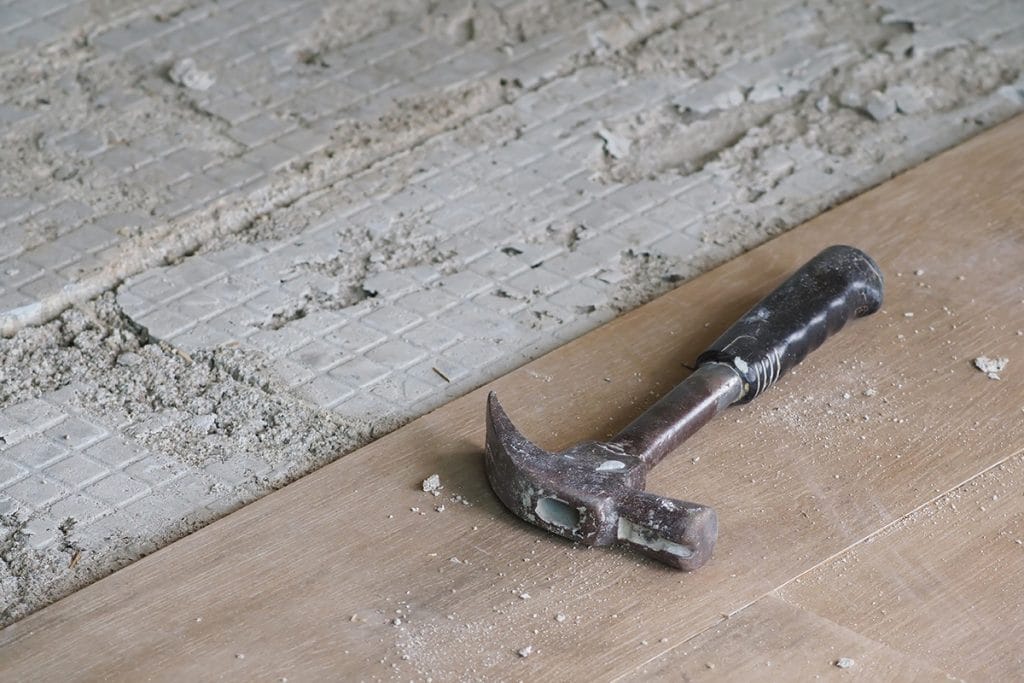
Tile flooring is more challenging to remove due to its secure adhesion to the subfloor. The process begins by breaking the tiles into smaller sections to loosen them. Once the tiles are lifted, the remaining mortar or adhesive must be chipped away to create a smooth surface. Dust control is particularly important during tile removal, as it can spread throughout the house.
Hardwood Flooring Removal
Hardwood flooring is often nailed, glued, or floating over a subfloor. Nailed-down hardwood requires prying up each plank while being careful not to damage the subfloor. Glued-down hardwood is more difficult to remove, as strong adhesives can make it stubborn to lift. Floating hardwood floors are typically easier to disassemble, as they are designed to lock together rather than be fixed to the subfloor.
Vinyl and Laminate Flooring Removal
Vinyl and laminate flooring are often installed using adhesives or as a floating system. For floating floors, each piece is removed individually. If glued down, scraping off the adhesive is necessary to ensure the subfloor is clean and ready for new installation.
Step 3: Adhesive and Subfloor Cleanup
Once the flooring is removed, the next step is preparing the subfloor for new flooring. Any remaining adhesive, staples, or nails must be cleared away to create a smooth and even surface. Mortar from tile flooring, glue from vinyl, or staples from carpet padding can leave behind residue that must be scraped off thoroughly.
In cases where the subfloor is damaged or uneven, additional preparation may be required before installing new flooring. Sanding, patching, or levelling maybe necessary to fix imperfections, ensuring that the new flooring can be installed properly. Cleaning up dust and debris from this stage is essential to prevent interference with the next phase of the renovation.
Step 4: Waste Removal and Cleanup
Flooring removal generates a significant amount of waste, including old flooring materials, adhesive residue, and dust. Proper waste disposal is crucial to keeping the space clean and organised. should be gathered and removed promptly, and dust should be contained as much as possible.
Sweeping, vacuuming, and wiping down surfaces help eliminate dust and ensure a clean work area. If a large amount of debris is generated, renting a skip bin or arranging for proper waste disposal services may be necessary.
Step 5: Final Inspection and Preparation for New Flooring
The final step in the flooring removal process is a thorough inspection of the subfloor. Ensuring that the surface is level, clean, and free from obstructions is critical before installing new flooring. Any necessary repairs or modifications should be addressed at this stage to avoid complications during the next phase of the renovation.
If moisture testing is required for certain types of flooring, this is the stage where it should be conducted. Allowing sufficient time for the subfloor to settle and dry before laying new flooring can help prevent long-term issues.
Understanding the flooring removal process step by step helps homeowners prepare for a smooth and efficient renovation. Clearing the space, choosing the right removal method based on flooring type, cleaning the subfloor, and properly managing debris all contribute to a successful flooring upgrade. Preparing adequately and following these steps ensures that the transition to new flooring is seamless and hassle-free.
For a professional and hassle-free flooring removal experience, Spotless Demolition offers expert services, including tile removal, carpet removal, vinyl flooring removal, and subfloor preparation. With a focus on efficiency, cleanliness, and minimal disruption, our team ensures that your flooring removal is done right, leaving you with a clean space ready for your renovation. Contact Spotless Demolition today to schedule your flooring removal service and take the first step toward transforming your space!


